Motivation
Lately, I've been working with a client where my development computer is not connected to the Internet. This is a huge inconvenience, as the unavailability of Google and Stack Overflow vastly impact my productivity. Only recently have I begun to grasp how much of my time is actually spent copy/pasting between Visual Studio and the browser.
My office also features an Internet connected laptop and my development computer expose 3,5 mm jack sockets for audio devices. And thus my problems can be solved! Here's how I made a modem for closing the gap with Web Audio.
PS If you just want to try the modem already, head over to the live demo. Also check out the source code on github.
HTML5 to Modem
Our modern era copy/paste implementation will be based on the
Web Audio API
which
is supported by all major browsers.
Most notably we'll leverage instances of
OscillatorNode
to encode data as an audio signal composed of sinusoids at preselected
frequencies. The audio signal is decomposed using an
AnalyserNode in
our gap-closing endeavor.
Modulation
We can convert characters to integer values using ASCII encoding. Our encoding problem can thus be reduced to encoding values in the range 0 through 127.
With distinct frequencies, f0 through
f6 we can encode the bits comprising a 7-bit signal. We
let fi be included in the encoded number n if
n & (1 << i), i.e. the bit at position i from the least significant bit in
the binary representation of n equals 1.
Demodulation
The decoding party knows which frequencies are used by the encoder. Figuring out if these are present in a recorded signal is done by applying a Fourier transform to the input signal. Significant peaks in the resulting frequency bins indicates which frequencies are in fact present in the recorded signal, and we can map these bins to the known frequencies.
Luckily, the Web Audio API handles all the complexities of digital signal
processing for us via the AnalyserNode.
Parameters
We can find the sampling rate of our AnalyserNode via the sampleRate
property on our AudioContext.
var audioContext = new AudioContext()
var sampleRate = audioContext.sampleRate // 44100
This means that we'll be able to analyze frequencies up to 22050 Hz, half of
the sampling rate. Using a fftwSize (window size in the Fourier transform) of
512 yields 256 frequency bins, each representing a range of approximately
86.1 Hz. The gap between our chosen frequencies should far exceed this value.
We select the following frequencies f0 through
f7, activated by the associated bitmask.
| Bit | Bit mask | Frequency (Hz) |
|---|---|---|
| 0 | 00000001 | 392 |
| 1 | 00000010 | 784 |
| 2 | 00000100 | 1046.5 |
| 3 | 00001000 | 1318.5 |
| 4 | 00010000 | 1568 |
| 5 | 00100000 | 1864.7 |
| 6 | 01000000 | 2093 |
| 7 | 10000000 | 2637 |
Implementation
If you want to see the modem in action, check out this live of the version encoder. The corresponding decoder can be found here.
The source code for the live version is available on GitHub.
Encoder
First, we need to initialize an audio context. We also create a master gain node, and set the gain to 1.
let audioContext = new AudioContext()
let masterGain = audioContext.createGain()
masterGain.gain.value = 1
Next up is setting up an oscillator for each of the frequencies, producing a sinusoid at the given frequency.
const frequencies = [392, 784, 1046.5, 1318.5, 1568, 1864.7, 2093, 2637]

let sinusiods = frequencies.map(f => {
  let oscillator = audioContext.createOscillator()
  oscillator.type = "sine"
  oscillator.frequency.value = f
  oscillator.start()
  return oscillator
})
Now, we need some means to switch the oscillators on and off, depending on the
input signal. We can do this by connecting each of the oscillators to a
dedicated gain node, utilizing the volume property of the gain node to control
the oscillator.
let oscillators = frequencies.map(f => {
  let volume = audioContext.createGain()
  volume.gain.value = 0
  return volume
})
To connect everything, we pass the oscillator's output sinusoids[i] to the
corresponding gain node oscillators[i] and the send the output of all the gain
nodes to the master gain node masterGain. Lastly, we send the output from
masterGain to the system audio playback device, referenced by the
destination property of the AudioContext instance.
sinusoids.forEach((sine, i) => sine.connect(oscillators[i]))
oscillators.forEach(osc => osc.connect(masterGain))
masterGain.connect(audioContext.destination)
Encoding
The character a has character code 97 which equals 0b1100001. As for our
encoder, this means that the oscillators at index 0, 1 and 6 should be active
when encoding this value.
To retrieve the active oscillators for a given value we have the implement the
char2oscillators function.
const char2oscillators = char => {
  return oscillators.filter((_, i) => {
    let charCode = char.charCodeAt(0)
    return charCode & (1 << i)
  })
}
Now that we've identified which oscillators to activate, we can create a
function that encodes individual characters. The mute function is used to
silence all oscillators between each character transmission.
const mute = () => {
  oscillators.forEach(osc => {
    osc.gain.value = 0
  })
}
const encodeChar = (char, duration) => {
  let activeOscillators = char2oscillators(char)
  activeOscillators.forEach(osc => {
    osc.gain.value = 1
  })

  window.setTimeout(mute, duration)
}
Combining the pieces, we end up with the following function to encode strings of text.
const encode = text => {
  const pause = 50
  const duration = 150
  // number of chars transmitted per second equals 1000/timeBetweenChars
  const timeBetweenChars = pause + duration

  text.split("").forEach((char, i) => {
    window.setTimeout(() => {
      encodeChar(char, duration)
    }, i * timeBetweenChars)
  })
}
Decoder
The decoder must use the same set of frequencies as the encoder. We start by
initializing the audio context as well as an analyzer node. We set the
smoothingTimeConstant of the analyzer node to 0 to ensure that the analyzer
only carry information about the most recent window. The minDecibels property
is set to -58 which helps to improve the signal-to-noise ratio by reducing the
amount of background noise accounted for by the analyzer.
const frequencies = [392, 784, 1046.5, 1318.5, 1568, 1864.7, 2093, 2637]

let audioContext = new AudioContext()
let analyser = audioContext.createAnalyser()
analyser.fftSize = 512
analyser.smoothingTimeConstant = 0.0
analyser.minDecibels = -58
Next up, connect the microphone input to the analyzer node.
navigator.getUserMedia(
  { audio: true },
  stream => {
    var microphone = audioContext.createMediaStreamSource(stream)
    microphone.connect(analyser)
  },
  err => {
    console.error("[error]", err)
  }
)
The analyzer will require a buffer to store frequency bin data, so we introduce a buffer for the cause. The following utility function is used to decide which bin corresponds to a given frequency, and returns the value of the corresponding bin.
let buffer = new Uint8Array(analyser.frequencyBinCount)

const frequencyBinValue = f => {
  const hzPerBin = audioContext.sampleRate / (2 * analyser.frequencyBinCount)
  const index = parseInt((f + hzPerBin / 2) / hzPerBin)
  return buffer[index]
}
We populate the buffer by allowing the Web Audio API work it's Fourier sorcery with the following single line of code.
analyser.getByteFrequencyData(buffer)After having populated the bins, we can deduce which frequencies are active and
thus converting this information to a numeric value. We call the value the
decoder state. The isActive function is used to decide if a frequency bin
value is above a chosen threshold, indicating that it was present in the
recorded audio. We set the threshold to 124, with a theoretical maximum of 255.
const isActive = value => {
  return value > 124
}

const getState = () => {
  return frequencies.map(frequencyBinValue).reduce((acc, binValue, idx) => {
    if (isActive(binValue)) {
      acc += 1 << idx
    }
    return acc
  }, 0)
}
We require the state of the decoder to be consistent for multiple generations of frequency bins before we're confident that the state is due to receiving an encoded signal. Decoding is performed by continuously updating the frequency bin data followed by comparing the state output of the decoder to its previous state.
const decode = () => {
  let prevState = 0
  let duplicates = 0

  const iteration = () => {
    analyser.getByteFrequencyData(buffer)
    let state = getState()

    if (state === prevState) {
      duplicates++
    } else {
      prevState = state
      duplicates = 0
    }
    if (duplicates === 10) {
      // we are now confident, and the value can be outputted
      let decoded = String.fromCharCode(state)
      console.log("[output]", decoded)
    }
    // allow a small break before starting next iteration
    window.setTimeout(iteration, 1)
  }
  iteration()
}
decode()
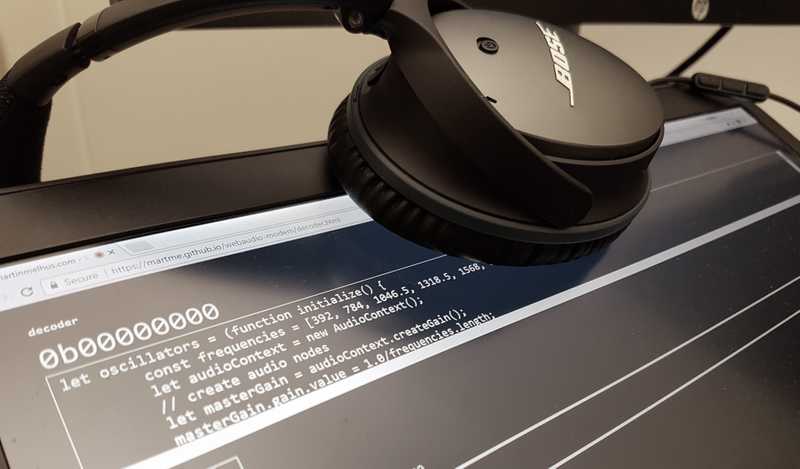
And that's about it! Here's what it looks like in action (the microphone is next to the webcam on the top of the screen).
Disclaimer
I made this; it's not perfect. As a matter of fact, the signal-to-noise ratio is usually really bad. However, making it was fun, and that's what matters to me!
N.B. This was only ever intended as a gimmick and a proof of concept - not something that I would actually use at work. Please keep this in mind before arguing why I should be fired over this in various online comment sections.


